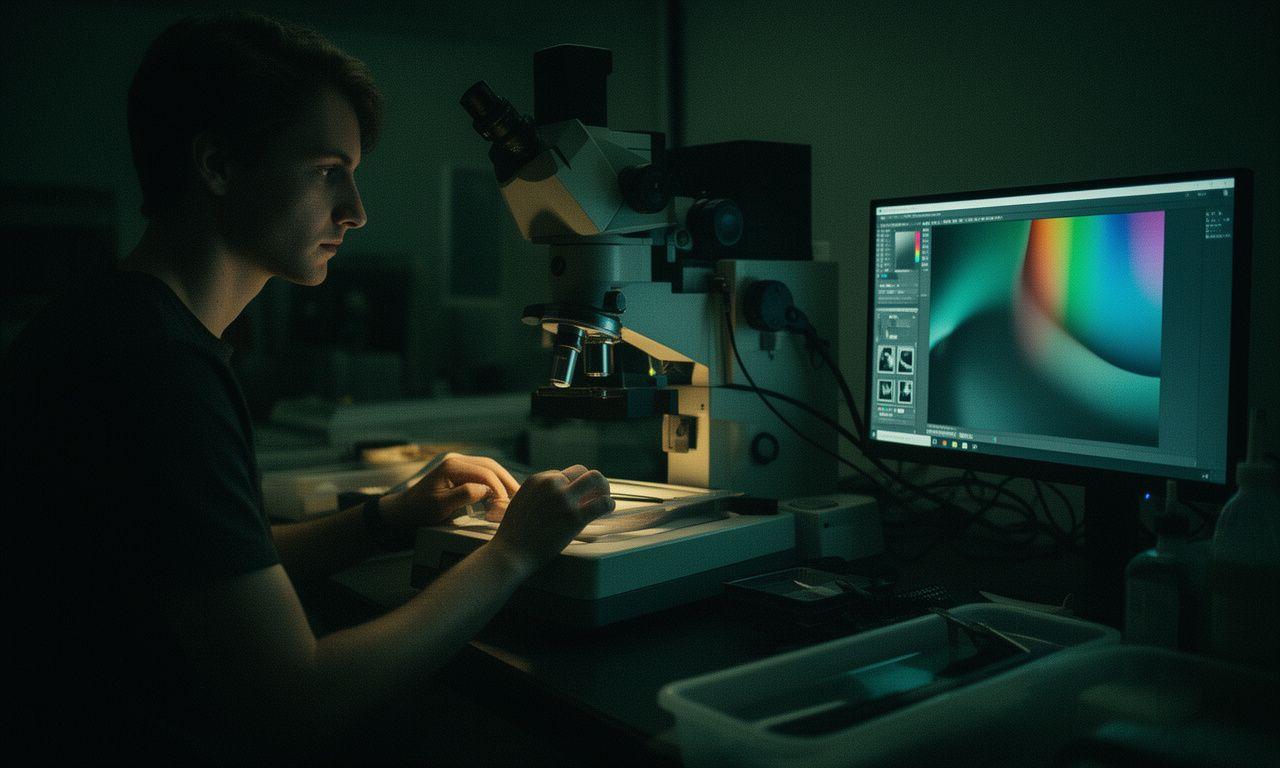
Photography student beside an enlarger and colour-calibrated monitor in a moody studio workspace
Film craft, pixel craft, one coherent workflow.

Darkroom & Digital Editing at Lens & Loom

We bridge the smell of fixer with the precision of a calibrated display. Why choose between analogue and digital when the strongest final image often needs both?

Workflow
Hybrid
Hands-on tools
Provided
Editing stack
Pro
Print outcomes
Gallery-ready

From negative to finished file

A single pipeline, carefully taught.

Analogue intention

We work with exposure, contrast and paper choice before a print ever touches the tray.

Digital refinement

Lightroom Classic and Photoshop become part of the same editorial decision-making process.

Prepared for output

If your work needs a print wall, a portfolio review, or a web-ready release, we map the final steps.

Dual-service bento

Analog meets digital: craft your final image

The page is built for students who want range. One card celebrates the darkroom, the other celebrates post-processing. Different tools. Same standard.

Darkroom Printing

Hands-on analogue printing with real tray rhythm.

Learn how a negative becomes a print you can hold. We cover black-and-white gelatin silver work, colour C-Print processes, toning decisions, and how to choose fibre-based paper when permanence matters. Ever stood in front of a first decent print and felt the room go quiet? That’s the benchmark.

What you'll practise

  • Black & white gelatin silver printing
  • Colour C-Print workflow and control
  • Toning and archival finishing

Equipment provided

  • Beseler enlargers
  • Epson scanners
  • Safe-light stations and chemistry guidance

Typical flow

  1. 1

    Expose and evaluate

    Read the negative, then choose contrast and exposure with intent.

  2. 2

    Print and refine

    Adjust dodging, burning and paper choice until the image settles.

  3. 3

    Tone for mood

    Sepia, selenium or another finish can change the emotional register completely.

Digital Editing

Precise, clean, and honest post-production.

This workshop treats the file as a creative object, not a repair job. You'll build a Lightroom Classic workflow that keeps selections disciplined, then use Photoshop for retouching, compositing and colour grading that supports the photograph rather than shouting over it.

Core editing modules

  • Lightroom Classic workflow and catalog discipline
  • Photoshop retouching and compositing
  • Colour grading for print and screen

Output discipline

  • Export settings for exhibition prints
  • Web delivery files with clean sharpening
  • Wacom tablets supplied during class

Our instructors keep one question running through the room: is the edit supporting the photograph, or replacing it? That simple check saves images from overwork and gives you a cleaner visual voice.

Studio notes

The practical details that make the room work

Small things matter here. Clean scanning, safe chemistry handling, accurate monitor work and good file naming all protect the final image. Want smoother sessions? These habits are the reason.

Scanning

Epson scanners help preserve detail and build a clean starting point for digital work.

Retouching

Wacom tablets are available for precise brush control, compositing and local adjustments.

Lighting judgement

Exposure theory links the darkroom to screen-based decisions. Same craft, different surface.

File delivery

You’ll leave knowing how to prepare print-ready and web-ready exports without losing the plot.

Ready to move between trays and timelines?

Register for a single workshop or pair the two. We'll help you choose the path that suits your current project, your schedule and your preferred pace.